Thursday, 3 October 2013

31


...SET YOUR LIFE ON FIRE...
...seek those who fan your flames...
- Rumi -


...hello everyone...the cobwebs have formed it's been that long since I posted!! they must of known I was cooking up a little Halloween fun :)) ...

...today I'm sharing with you a little 6 by 4 chunky canvas with Halloween in mind...


...all the Paints, Mediums & Stencils used are by  DecoArt...


...I used modeling paste and a number stencil (sorry my photo very poor) and left this to dry naturally...then the whole canvas was painted white...


...then the fun began, out came spiced pumpkin!...


...which was dry brushed in feather light strokes around the number edges...


...the numbers then given a hefty coating of ebony black...


...also at this point I did a few small random circles on the canvas...


...then one step crackle was applied...


...and left overnight to dry...


...next, antique white was sponged over the whole canvas...


...and wiped back a little, the cracks were filled nicely...


...I then used my finger to gently rub black shimmer metallic lustre over the numbers and smudging over the edges of the canvas...


...the iron oxide was painted all round the numbers...


...then spritzed with water so the colour would seep and bleed...


...this was then dried with a heat tool...


...I put touches of this amazing colour on the number edges...


...then raw sienna was randomly splattered and dots placed in the random circles and heat dried...


...these two colours were mixed to create the colour of blood, this was then dripped and left to run, then heat dried close to the canvas to give the appearance of congealed blood!!...


...I didn't have a rubber/plastic bat or a template to make one so I improvised and used some oyster shells(as you do!) for the wings and a little heart for the body...


...these were coated with texture fierro in graphite, I used a stencil brush (which is hard and stubby) to push into the shells...I then wrapped some rusty wire around a small primitive heart and used this for the body of my bat...


...to finish the canvas off I added feet at the bottom and a knob on the top, these items were coated with brown texture fierro and a few chit chat stickers...


...well there you have it, a little spooky Halloween fun, I hope you like it and I hope you found the step by step easy to follow...


...thank you for stopping by today...
XXX


Thursday, 29 August 2013

HAPPY DAZE


...this world is but a canvas to our imagination...
- Henry David Thoreau -


...hi everyone, just a quick posting fro me today to share with you a little book I made for my dear friend May of mayshappydaze who had her Birthday on Monday...

...now, i've never made one of these books before but always wanted too and have greatly admired ones I've seen other crafters make, so thought I'd start small...


...the outer cover is extra thick art card, painted, distressed, crackled, sanded...


...a Tim Holtz bookplate was given the Andy Skinner  timeworn touch, you can sign up to his amazing on-line classes here ...


...all products used on the cover of this mini book are by DecoArt ...


...the inner pages were crumpled and soaked in tea for half an hour, dried then ironed flat...


...this is the back...


...May loved her mini book keepsake, I hope you like it too...


...thank you for dropping by today...
XXX


Friday, 2 August 2013

FLUTTERBIES


...this world is but a canvas to our imagination...
- Henry David Thoreau -

...hello everyone, today I'm sharing with you a chunky canvas, that was a lot of fun and very easy to create and so much cheaper than buying one from a designer store...


...most of the products used to create this piece are from DecoArt you can see the products below...


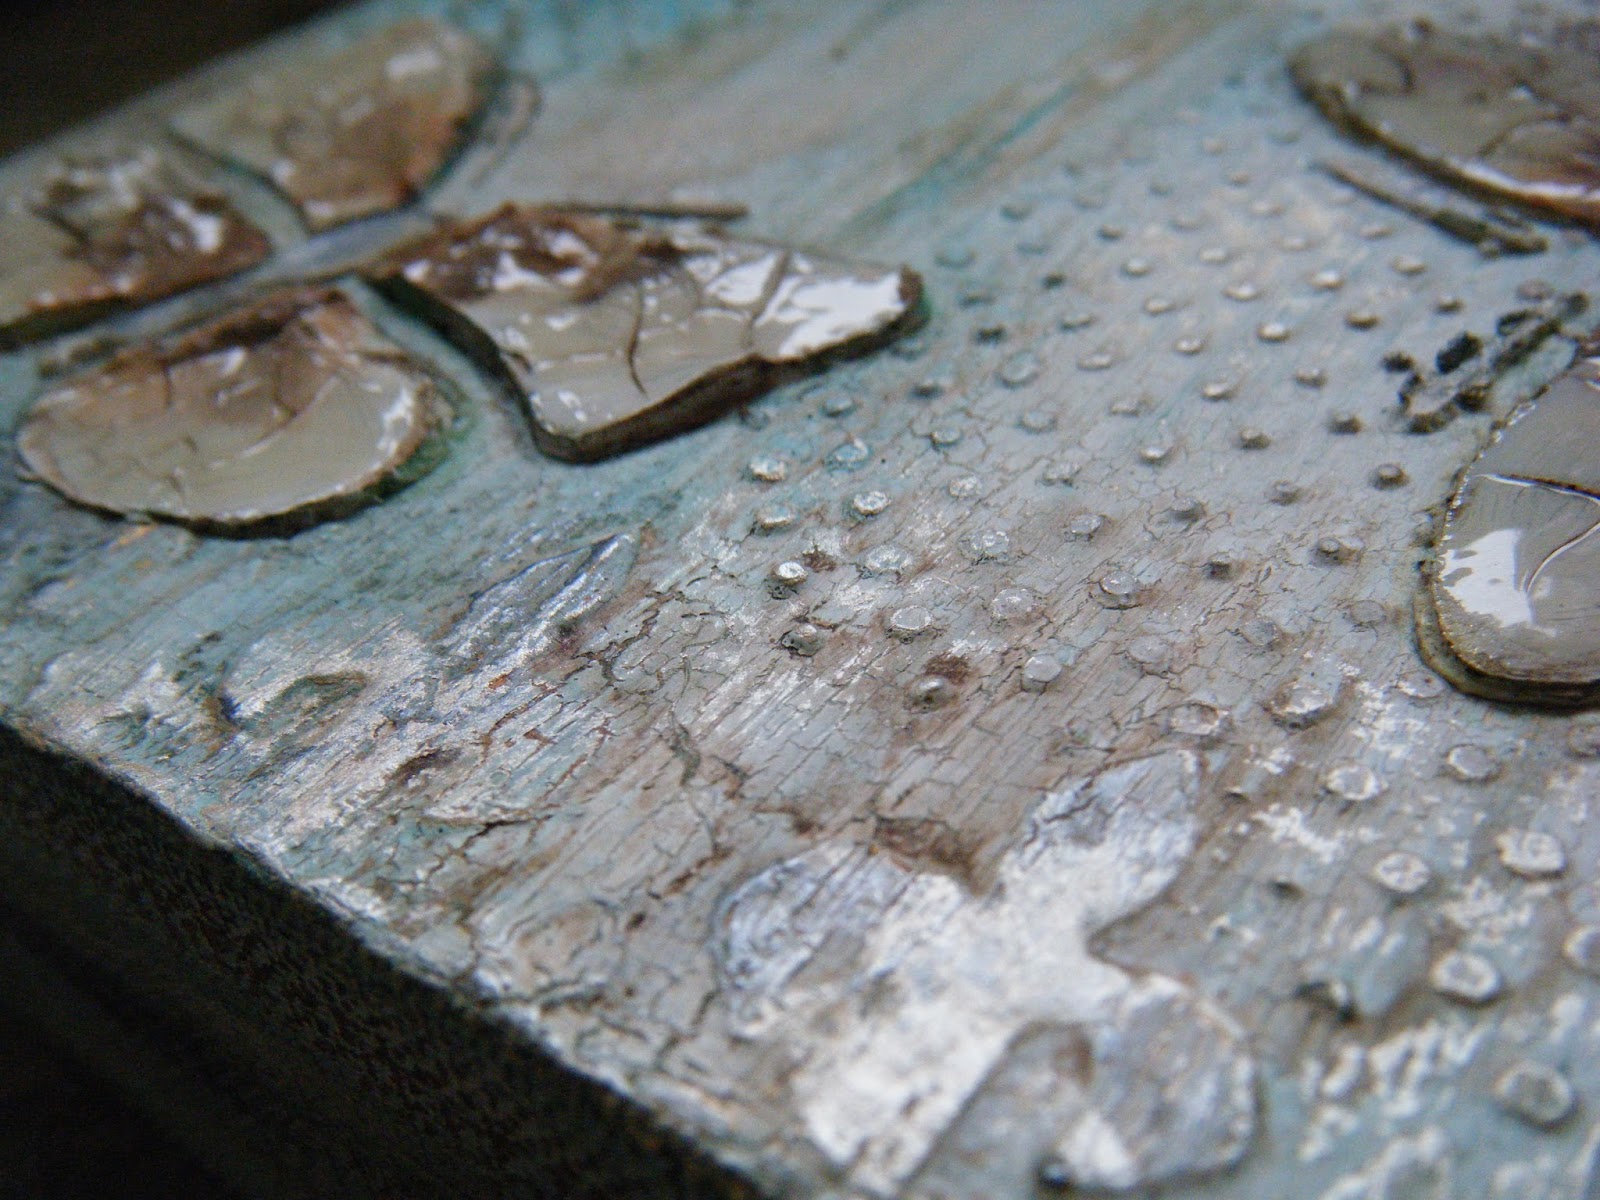
...the canvas given a rough coating Burnt Umber, once dry I went over with Titanium White...I had a piece of plastic ribbon in my stash (stuff they use in flower shops) full of tiny holes, I placed it randomly and smoothed over with Stucco and was left with tiny pimples...


...next up I took some mini mister bottles and added 1-1 with paint and water...the colours used are Aquamarine & Blue Green Light from the Traditions range, the 1-1 gives a nice light colour wash which I sprayed on the canvas randomly and evened out with a brush...


...I added a few fleur-de-lys around the edge, again with Stucco (I love this stuff it's amazingly versatile)...

 
...once dry I went over with a watered down crackle glaze and left over night...


...I used the gorgeous classic stencil designed by Tracy Moreau named 'Flutterbies' below...
 
 
...the stencil was the perfect size for the canvas and I roughly applied the Stucco, which I left a good couple of hours to dry...I painted all the butterflies in Antique White and while still wet brushed over with Burnt Umber and a tiny touch of Transparent Red Iron Oxide (this has an amazing colour and texture!) once dry a added a very thick layer of One Step Crackle...


...the bodies were rubbed and buffed up with Metallic Lustre in Black Shimmer, which gives a soft charcole shimmer...the same was done to the fleur-de-lys and then to finish off i went over randomly with Champagne Ice Metallic Lustre, again this gives a gorgeous soft white gold finish (be perfect for any Christmas pieces)...


...I hope you like this piece as much as I do...
...thank you for stopping by today...
XXX


Friday, 19 July 2013

ENJOY THE JOURNEY


...hello everyone, today i'm sharing with you a wall hanging that I've made using mainly  DecoArt  products, I hope you like...


...the base is a flat canvas which was given a good coating of Traditions Acrylic, once dry more colour was randomly added...


...once all the paint was dry I used a heart stencil and DecoArts texture stucco to create some wings...
 
 
...the wings were painted and given a slight crackle and just before dry a light sprinkle of glamour dust (I love this stuff!!)...


...I defined the edges of the wings with metalic lustre...


...the body and antenne was made with rusty wire...


...the wing nuts & fixings were given the Andy Skinner Time Worn touch...


...below are the DecoArt products used to create this piece...

 
...thank you for dropping by today...
XXX


Sunday, 23 June 2013

ALTERED TIN


...joy does not simply happen to us.  We have to choose joy and keep choosing it every day...
- Henri Nouwen -


...hello everyone, I hope you've had a super weekend so far, even though there's not much sunshine to write home about...
...I needed a storage jar for my paint brushes and having emptied my coffee tin this morning I thought it might be nice to alter it...


...the tin was covered with Tim Holtz crowded Attic paper, a few staples added and some foil tape to seal the top and bottom...


...some tattered floral's with flourishes...


...a heart and some jute...


...a simple effective project...


...the quote at the top of the page was taken from the lovely Tammy Tutterow blog...Tammy adds art inspiring quotes once a week...

...thank you for dropping by today...
XXX


Saturday, 15 June 2013

LIVE YOUR DREAMS

...one's destination is never a place, but a new way of seeing things...
- Henry Miller -


...hello everyone, hope you've all had a groovy week and managed to see some sunshine...
...the last few evenings I've had a little play with some DecoArt products, I hope you like...


...I brushed some Texture Crackle over the entire tag, slightly thicker at the top and bottom and waited for it to dry, then I cut the heart, wings and crown from Tim Holtz Heart Wings die...the heart was give a super thick coat of the Texture Crackle and left over night to dry...


...the tag was then painted with Traditions Acrylic's...


...the crown was given a dusting of Glamour Dust...


...the crackled heart was coated in Metallics Elegant Finish with a dusting of Glamour Dust then covered in Glossy Accents...the wings were painted with Traditions Acrylic and again coated in Metallics Elegant Finish which I wiped back...


...a few chit chat stickers...


...have a wonderful day and thank you for dropping by...
XXX


Sunday, 2 June 2013

A PLAY AT VERDIGRIS


...recipe for happiness: have a passion, make a contribution & keep learning...
- Anon -
 
...hello everyone, hope the sun is shining on your day, lifting your spirits and adding warmth in all that you do...I had been hoping to visit The Craft Barn Extravaganzer this weekend but I've been a little unwell this week and needed my strength for returning to work tomorrow, I've not had a play for a while and really fancied creating a heart with a Verdigris effect, could I find one on You Tube? no!...


...I experimented with a few paint colours and settled for this one...
 
 
...I cut a polystyrene heart in half and covered it in metal tape which i'd put through Tim Holtz sun ray embossing folder...
 
 
...then two coats of my paint mixture were applied, once dried then a crackle medium, then I rubbed in some charcoal and gold paste...
 
 
...I decorated a small canvas 8"/8" with some decoupage & die cuts...
 
 
...I added some rusted wire to the edge of the canvas and job done, if anyone knows of a Verdigris tutorial I'll be a happy bunny :) ...


...thats it from me, hope you all have a super week ahead...
 
XXX